Camera spots
Cameras: Place the Lens with Care
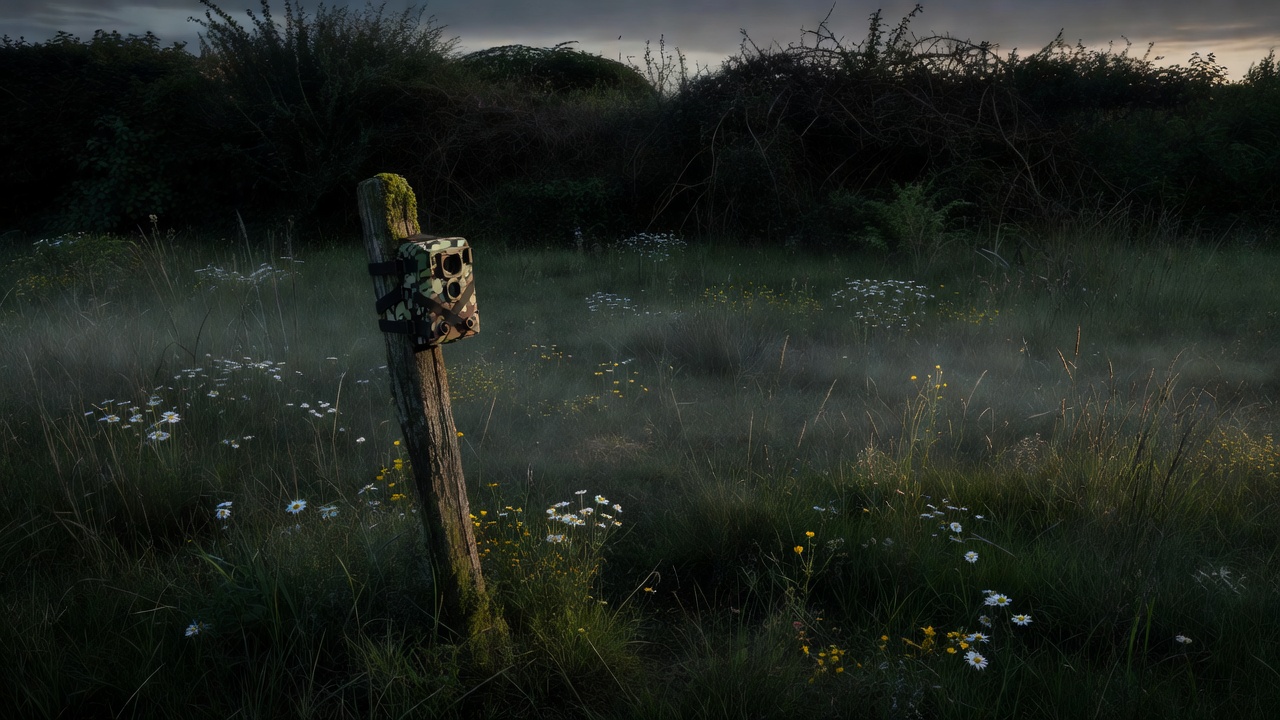
Your camera should be the most patient member of the household. Set it up once, in the right place, and let the garden carry on without you.
Start with the animal, not the specifications
Most camera conversations begin with megapixels, trigger speed and battery life. Those matter, but only after a more important question: what does the animal need from this spot? A blackbird foraging under a hedge needs to feel hidden. A fox crossing the lawn needs its route to stay open and scent-free. A pair of blue tits feeding young needs nobody near the box at all. If your camera position undermines any of that, no amount of resolution will make the footage worthwhile.
So before buying or moving anything, spend two or three mornings simply watching from a window. Note where birds land before dropping to the ground, where the hedge has gaps, where the grass is flattened into a faint path. These are the places animals already trust. Your job is to point a lens at them quietly, not to invent a new stage.
Reading the ground for existing routes
- Fence-base gaps: soil worn smooth under a fence panel often marks a hedgehog or fox route.
- Hedge exits: birds tend to leave and re-enter cover at the same few points.
- Flattened lines in grass: visible on dewy mornings, especially in long or unmown areas.
- Droppings and feathers: regular signs show a place is used, but disturb nothing to inspect them.
The Mammal Society and the hedgehog conservation project Hedgehog Street both encourage this kind of light-touch observation of signs before setting up equipment. You learn far more from a week of noticing than from a week of moving a camera about.
The best camera position is the one you never need to revisit.
— Placement rule of thumb
Distance, height and angle
For ground-level mammals, mount the camera roughly at knee height, angled slightly downward and pointed along a route rather than straight across it. Animals moving along the frame stay in view longer, which gives the passive infrared (PIR) sensor time to trigger. For birds on a hedge edge, a position at chest height a few metres back usually captures the habitat around them — the berries, the perch, the cover — which tells you far more about behaviour than a tight crop.
A practical starting distance is three to six metres from where you expect activity. Closer often means half an animal in frame and a camera close enough to smell or see. Further away, many trail cameras lose detail at night. Test with yourself: walk the route at a slow pace in daylight and check the frames before you leave the camera for good.
PLAN A QUIETER WATCH
Daylight setup. One visit. Sun behind the lens. Nests out of frame. Check weekly.
Log what the camera seesLight, sound and the invisible footprint
Many trail cameras use infrared illuminators for night images. Standard "low-glow" units around 850 nm emit a faint red light that foxes, deer and some birds can notice. "No-glow" units at around 940 nm are much harder to see, at the cost of slightly shorter night range. If your camera has a choice, choose the gentler option. Turn off any operating beeps, and never add white lights to brighten a scene.
Your scent is a footprint too. Every visit to change a memory card leaves a trail. Use larger cards and lithium batteries so you can leave the unit for a week or more, and approach along the same path each time.
Nests and roosts: the firm line
Nest cameras belong inside nest boxes, installed in autumn or winter before birds prospect for sites. Once a box or natural nest is active, leave it. Do not trim a branch, move a camera closer or open a lid "just to check". The BTO's Nest Record Scheme has a dedicated code of conduct for monitoring nests, and it exists because well-meant curiosity can lead to abandonment or predation. If you are not trained under that scheme, simply enjoy the activity from a distance.
| Subject | Height | Distance | Gentle choice |
|---|---|---|---|
| Hedgehog route | 20–40 cm | 2–4 m | No-glow IR, fence-gap view |
| Fox crossing | 40–60 cm | 4–6 m | Angled along path |
| Birds on hedge edge | 1–1.5 m | 3–6 m | Daylight only, wide framing |
| Nest box | Built-in | Inside box | Installed before the season |
A note on bait
If you already feed garden birds, keep feeders clean and in their usual places. Do not move food closer to a camera, scatter treats for a shot or use calls to lure birds in. Food placed purely to film animals changes their behaviour and can concentrate disease. The footage we value most here is ordinary life, observed honestly.
Next, learn how to read the birds you record, or how to make the garden worth the visit.